Thursday, March 14, 2013

Not Commander Shepherd's Pie


IMG_6325
Happy Pi Day!
Hey, I still have a half hour before the day is officially over, give me a break! That's what I get for not planning ahead.
Anyway, I'd love to post about a sweet pie instead of a savory one, like I did last year with Yoder’s Peanut Butter Cream Pie. But I've been meaning to post this for a long time now, and what better day than today!?
This isn't a weekly meal for us. It usually gets made when I'm bored of the regular menu and I have all the ingredients laying around. You know that situation. It's like the cooking equivalent to the planets and stars aligning. Don't get me wrong, this would make an awesome weekly Sunday dinner, but I just never plan for it.
I never even used to make Shepherd’s Pie. The first time I ever made it was after I watched Nadia G make it on Bitchin’ Kitchen. Unfortunately, I never had all the ingredients at the same time for her version, but I have to thank her and her Shepherd's Pie recipe for giving me the inspiration to make mine!
And if you've never seen Bitchin' Kitchen on the Cooking Channel: Seriously?! It's the best cooking show you can watch. You'll wonder what you've been doing with your life!
Now, I don't usually show my nerdy side as much as I should, but I've posted a Shepherd's Pie recipe on a blog before.
A video game blog.
Scratching your head? Wondering what a Shepherd’s Pie has to do with gaming?
Well, the good folks over at EZ-Mode Unlocked let me post on their blog when I have something to talk about in the gaming world. And at the time, Mass Effect 3 – the third installment of one of my favorite franchises – was released the day before the post was published. In case you don’t know, Mass Effect puts you in control of Commander Shepard. So the post paid homage to the game by being a borderline fanfic about a news report covering Commander Shepard’s favorite food. I had a lot of fun writing it, and if you like Mass Effect*, I urge you to check it out so you can know all about Commander Shepard’s Pie.
Shepherd’s Pie
1 pound ~ Ground Beef
1 ½ cups ~ Onion, diced
1 tablespoon ~ Garlic, chopped
1 teaspoon ~ Salt
1 teaspoon ~ Pepper
1 teaspoon ~ Chili Powder
1 teaspoon ~ Garlic Powder
1 cup ~ Sweet Peas
To Top ~ Shredded Cheese & Breadcrumbs
Notes:
  • While this isn’t exactly Commander Shepard’s Pie, I’m sure he’ll like this one all the same.
  • This has 3 components to it: The meat bottom, the creamed corn center and the mashed potato top. This is easier if you do the mashed potatoes and creamed corn ahead of time. I did mine a couple of hours earlier and just reheated when it was time to put it together (easier to work with when it’s heated). It also makes it easier with cleanup after you’re in your food coma.
  • If you don’t have the time, no biggie. You can have all 3 going at the same time and be alright.
  • I’m using a 9 ½ round pie dish for this. So use whatever you have around that size.
  • If you go bigger than 9 inch pans, I would recommend using at least 1 ½ or maybe even 2 pounds of ground beef. 1 pound works fine now, but any bigger and you’ll be spreading it out too thin.
  • If you have diced carrots, feel free to throw them in there with the onions.
Shepherd’s Pie or Cottage Pie as it’s otherwise known as, has always been one of those thrown-together meals. Even from early cookbooks it was something that you made in order to use up leftovers like various roasted meats for example. Don’t let that tradition stop now. If you’ve got something that you think may go good in there, don’t be scared. Carrots, Bacon, Lamb, Sausage, Red Wine, Beef Stock.... It’s hard to not come out a winner every time.
With that said, let’s get our 3.141592653589793238462643383279502884197169399375105820974944592307816
406282089986280348253421170679... on:
  • Grab your favorite pan and heat up some oil. Add the onions to the pan and saute until they start getting a little color. When they’re ready, add the chopped garlic and after about a minute, the ground beef. Cook the beef until there is no more pink. You’ll probably have to drain it a few times with all the water that’s going to be cooked out of it. After you drain it the first time, add all the spices and seasoning.
  • Next, the peas. I used frozen peas so I ran them under some water so they could defrost before I put them in. So if you’re using the same type, once defrosted, add the peas to the beef and incorporate them well.
IMG_6305IMG_6307
  • From there, it’s all downhill. Take whatever dish or pan you’re using, and give it a coat of cooking spray just in case. Add the beef to the pan and even it out.
IMG_6313
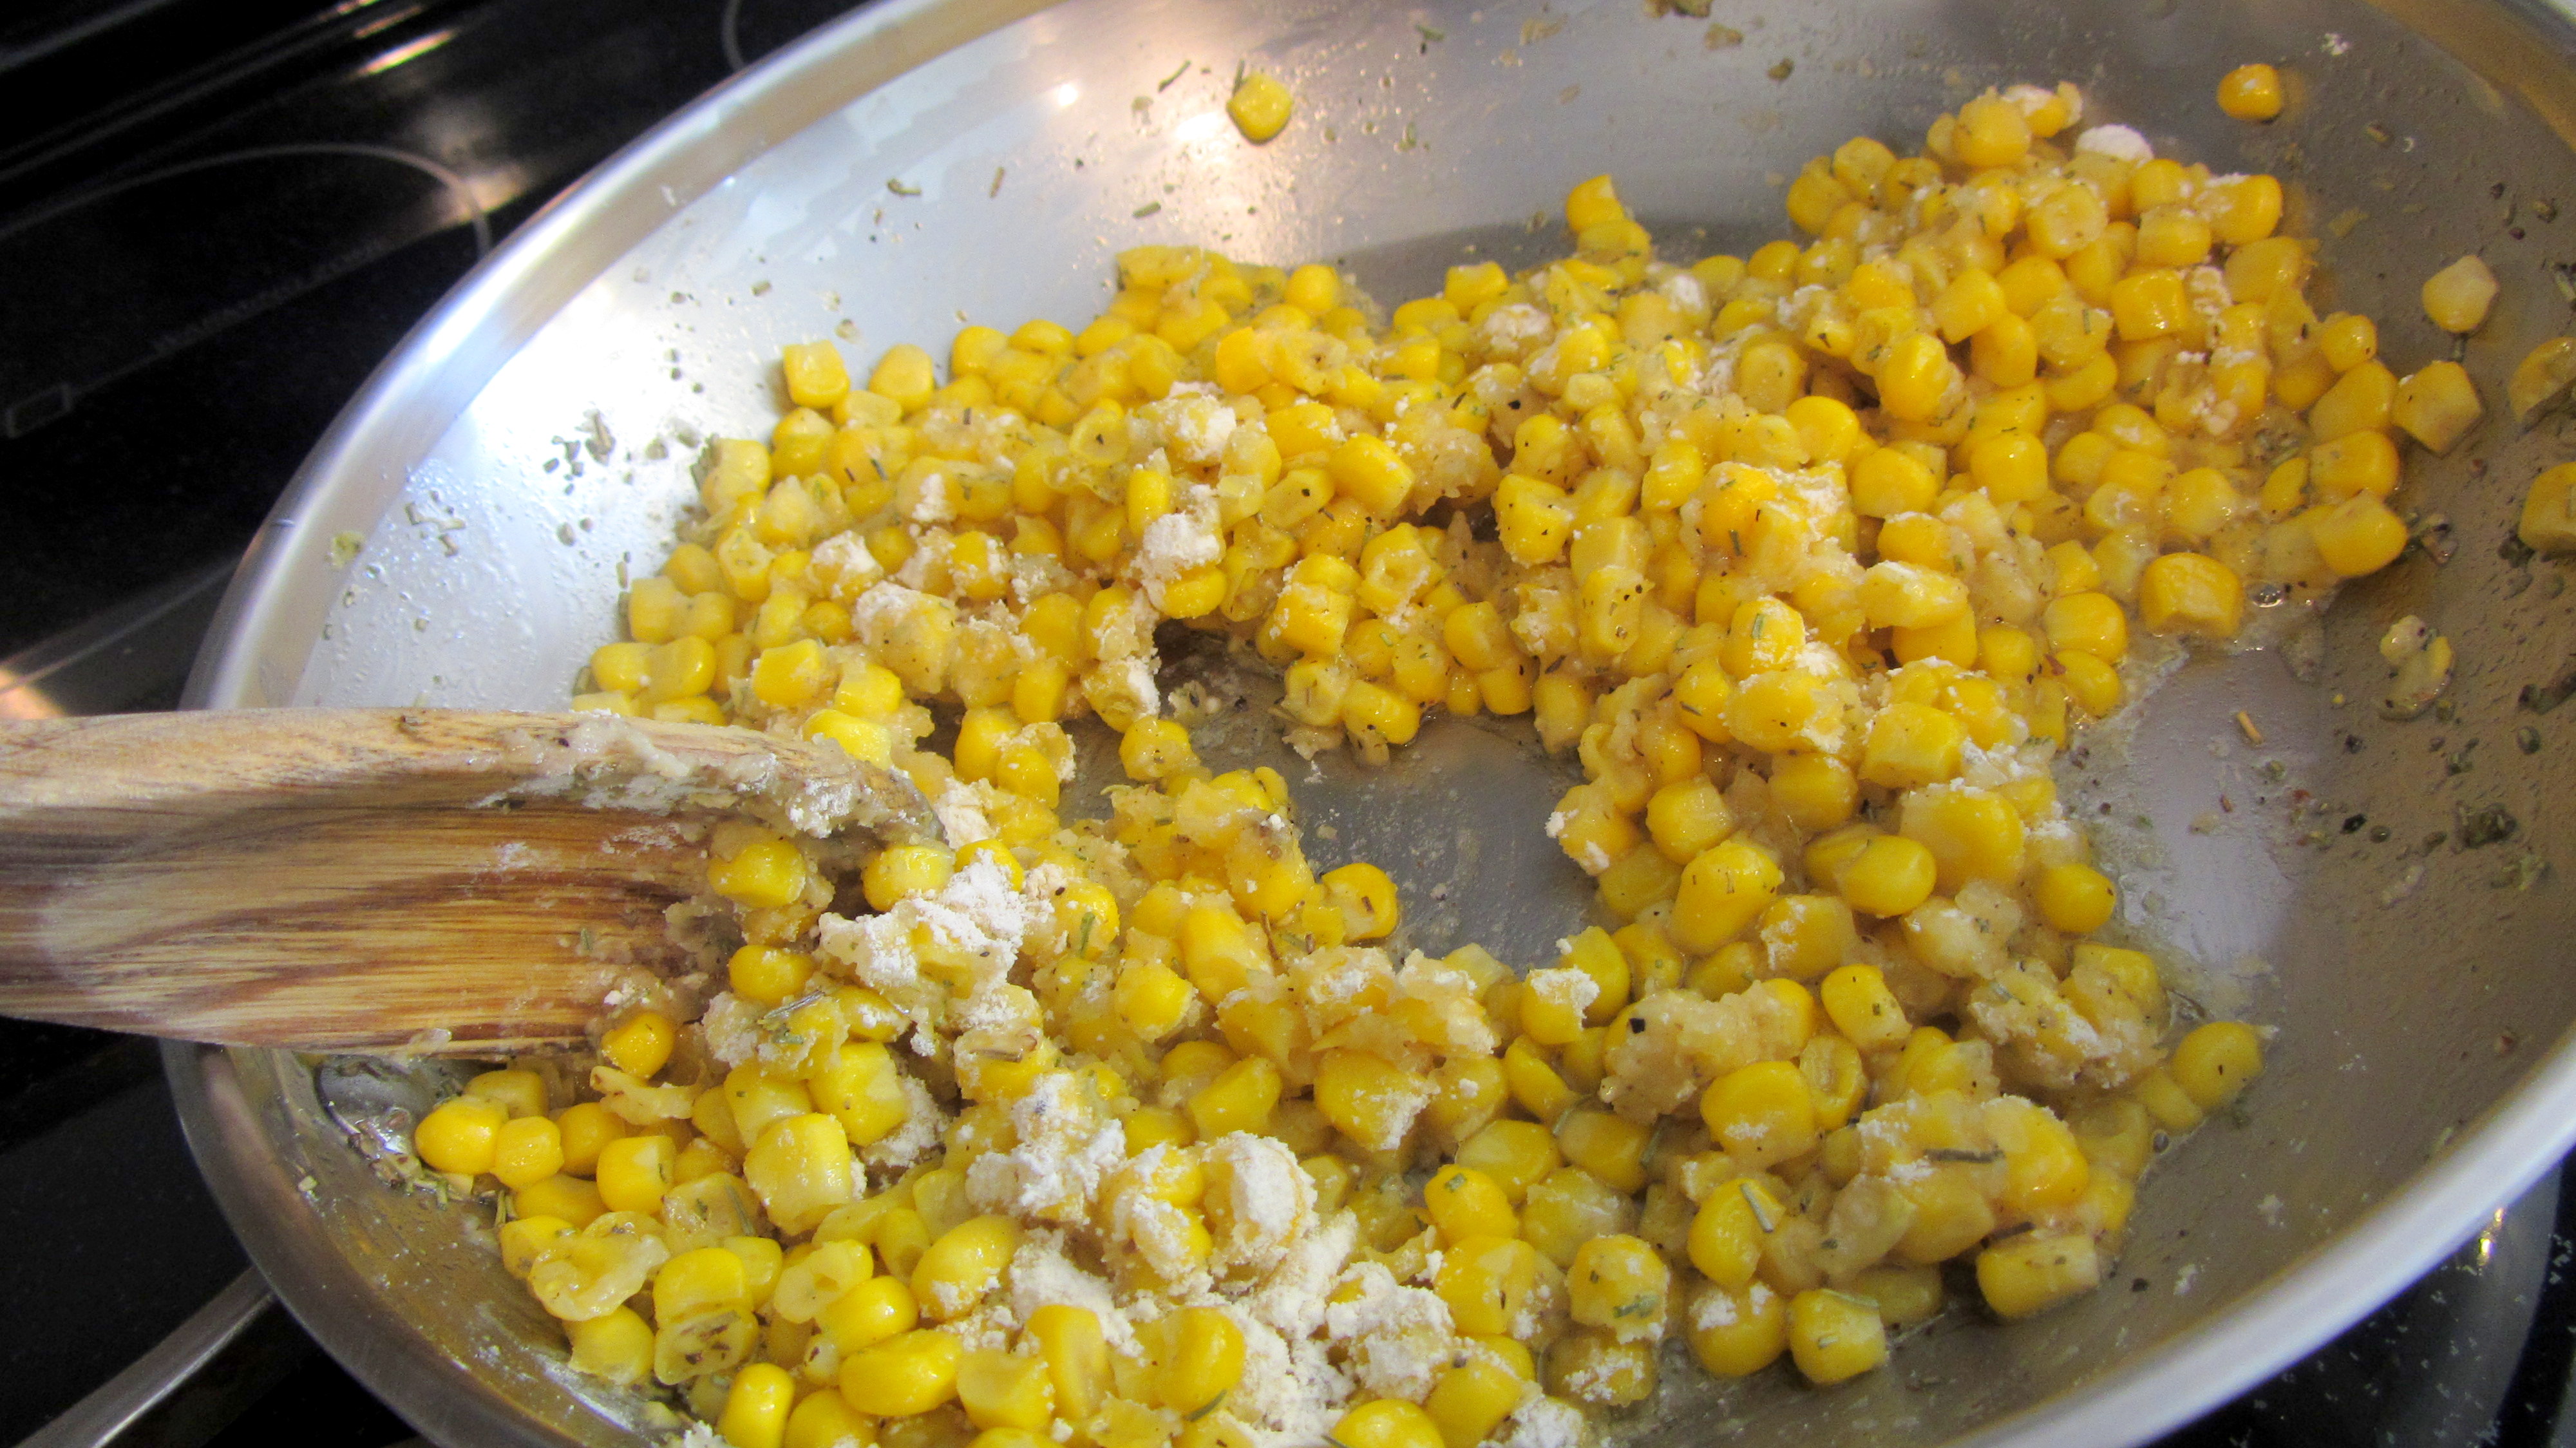
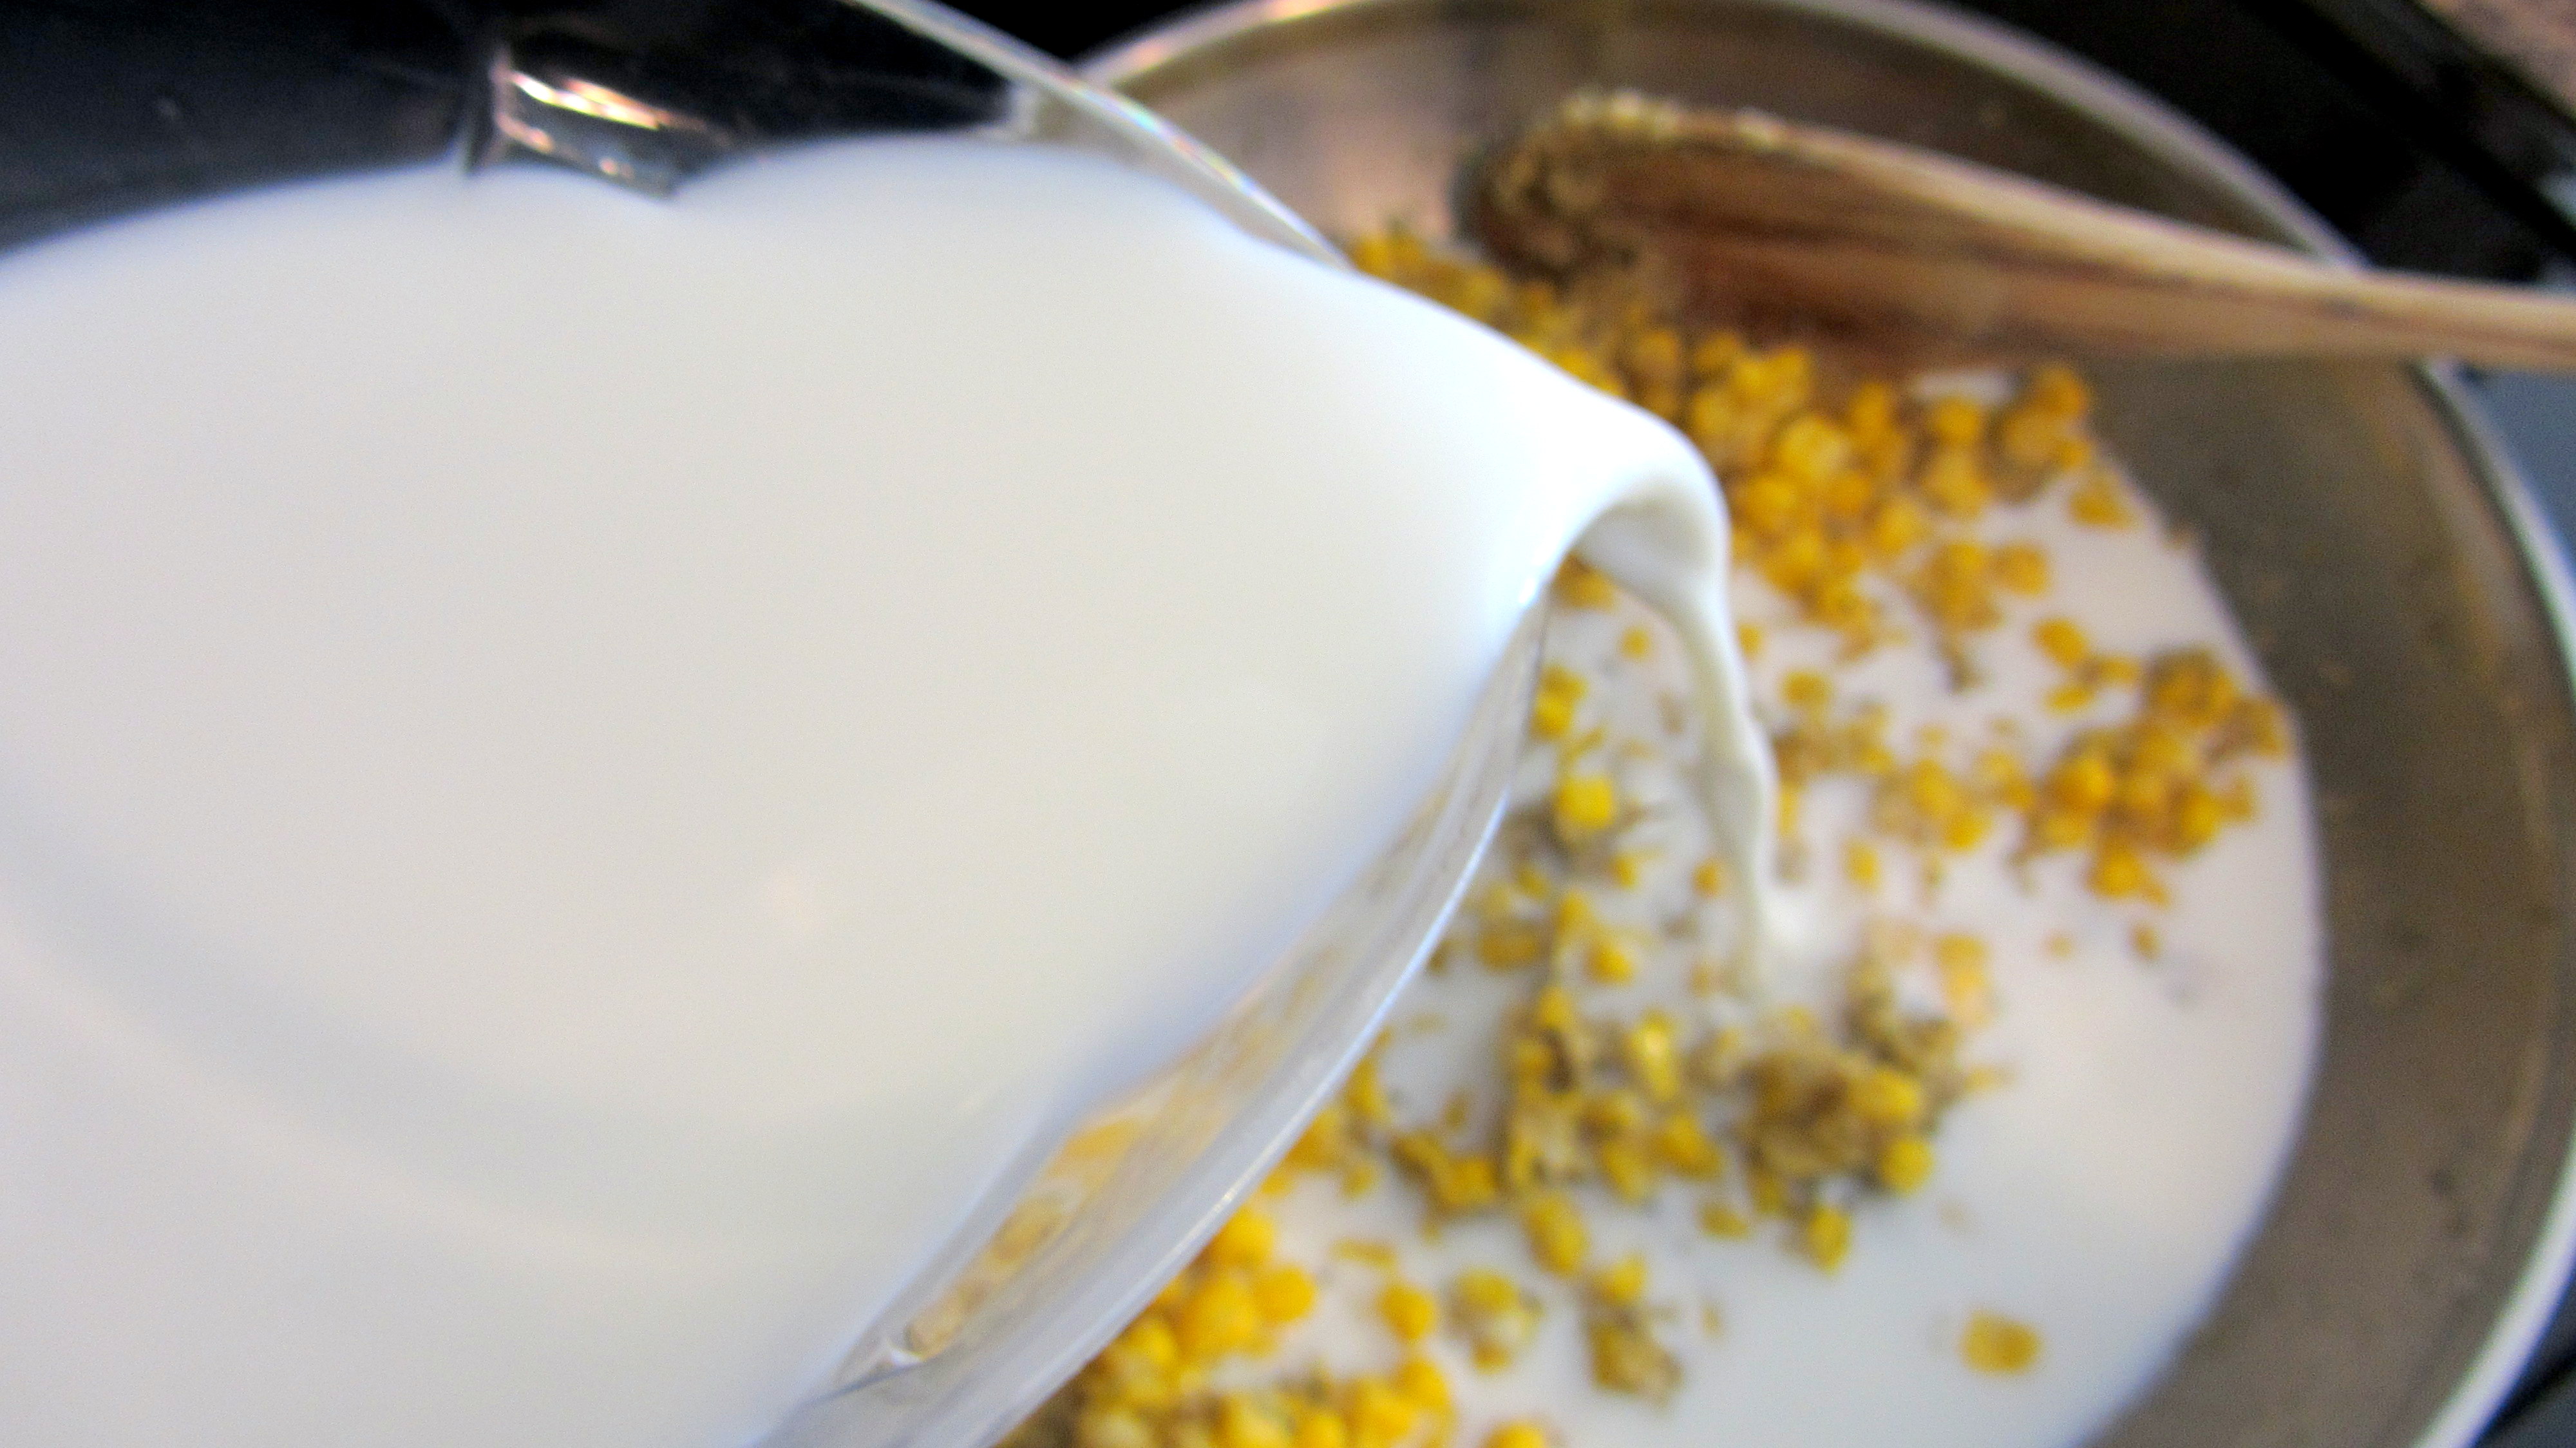
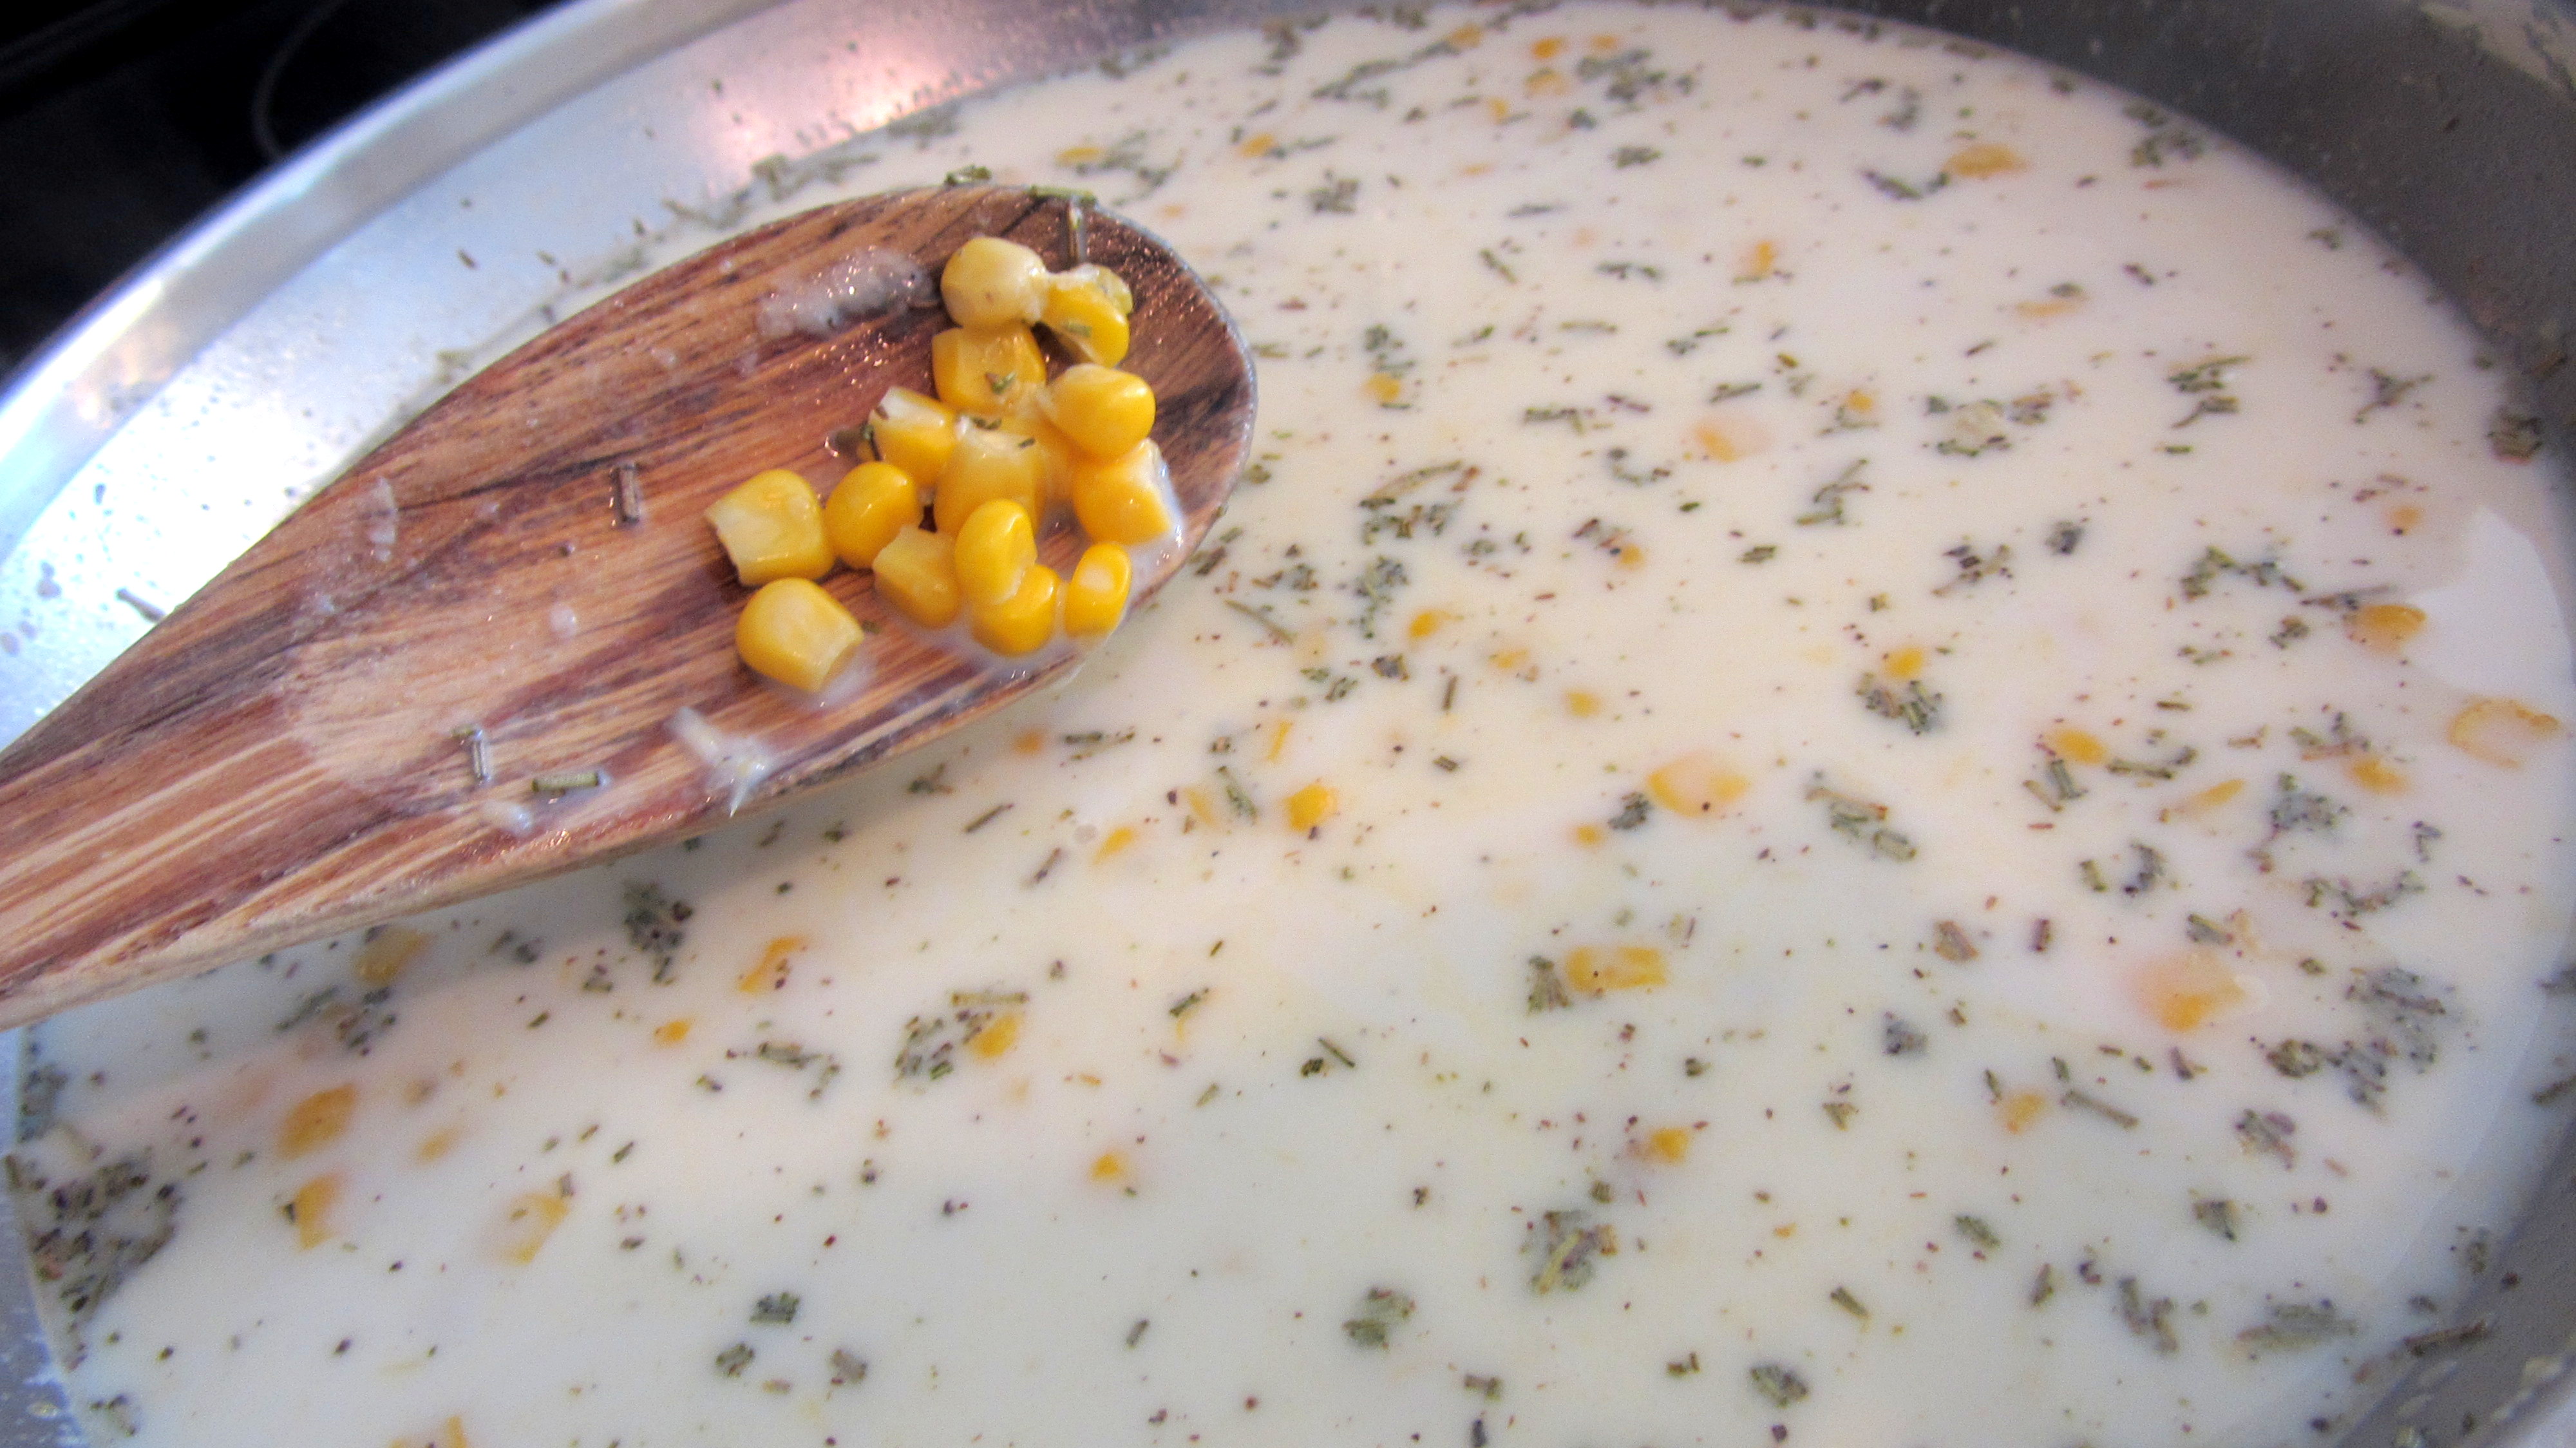
  • Then add the creamed corn on top of it and even it out as well.
IMG_6317
  • Next, plop a few mountains of mashed potatoes on top and smoosh them around.
IMG_6319IMG_6320
  • Magically, you should have something that looks just like a pie! Throw some shredded cheese on top and then some breadcrumbs on top of that and it’s ready to go in the oven for about 15 minutes until it’s nice and bubbly.
IMG_6323
  • When you see it bubbling, turn on the broiler and let it sit in there for 2 or 3 more minutes. But watch it! The broiler is like your best friend in high school that you enjoyed hanging out with but always wound up taking your girlfriends from you.
Watch it...
And that's it! Finally, Shepherd's Pie is on here! And on Pi Day! That's like, coming full circle!
...There's a Pi joke in there somewhere, but I'm too lazy right now.
*If you like Mass Effect, then you like to game. And if you like to game, you need to get over to the EZ-Mode Unlocked forum and sign up! A lot of good folks over there. And they just celebrated their podcast's 4 year anniversary! So congrats to them!

What's Taters, Precious?!


IMG_6284
"What's Taters, eh?"
"PO-TAY-TOES! Boil 'em, mash 'em, stick 'em in a stew..."
Haha. Sorry... Whenever I see the word "taters" I always hear poor, little Smeagol asking what they are.
I love me some mashed potatoes. And there are close to a bajillion ways to make them. Not talking proper vs improper, I’m talking all the different things you can put in them to make them different.
These today are your basic garlic variety. Nothing really fancy about them but you don’t really need anything else.
Unless you have bacon. You always need bacon.
Garlic Mashed Potatoes:
6-8 each ~ Russet Potatoes, diced large
2 tablespoons ~ Butter
¾ cup ~ Heavy Cream
1 teaspoon ~ Salt
¾ teaspoon ~ Pepper
1 teaspoon ~ Garlic Powder
1 teaspoon ~ Thyme
Notes:
  • I usually peel the skin off the potatoes when I do mashed. Sometimes I go rustic and leave them on, which mostly just saves me some time. It doesn’t really matter though when it boils down to it. (haha, get it?!)
  • When cutting the potatoes, try to cut them uniform in size. That way, when you’re cooking them, they’ll all be ready at the same time as opposed to smaller cuts being ready before bigger cuts.
  • Speaking of smaller vs. larger, I said to cut them on the bigger side. If you cut them too small then everything will be cooked to high hell and you’ll lose the few nutrients that you would’ve had otherwise. But, on the flip side, if you cut them too big, the outside will be overcooked and the inside will be undercooked. So I guess what I’m saying is cut them big, but not too big.
  • Hey, don’t get mad at me! I don’t know how big your potatoes are! Send me a picture of your potatoes before you dice them and I’ll tell you how big they need to be cut. There! Happy?!
  • I’m telling you to use heavy cream even though I don’t usually have heavy cream and just use milk. So I guess what I’m telling you here is you can use milk if you need to, but try and go with heavy cream.
POTATO MASH!
  • Peel your potatoes, dice them and put them in a pot filled with cold water. Set them on the burner and bring them to a boil.
IMG_6268
I know, I know… But why cold water? Why not just have boiling water ready and toss them in there? Why, Los... WHY?!
Well, I’m glad you asked!
If you throw them in boiling hot water they’ll immediately begin their cooking process. Your common sense may tell you there’s nothing wrong with that, but a potato is pretty dense. So by the time they've been in there long enough for the center of the potato to be done, the outside will already be breaking down from being exposed to the hot water for so long. But, if you start them off in cold water first, the potatoes will begin to cook at the same pace the water is beginning to boil. Everything cooks evenly and everyone is happy.
Am I making sense again? I hope so!
  • Once the water comes to a boil, let the potatoes cook for about 10-15 minutes. When you can stick a fork or a knife easily into one of the larger potato chunks you can find and have it easily slip right off, then they’re done. Turn off the burner.
  • Dump them in a strainer and shake off the water that’s still on them. Then go ahead and dump them back in the same pot they were just boiled in.
  • What I like to do is put the pot back on the burner then cover it almost completely with a towel. The residual heat that is still on the burner will help steam the potatoes and get rid of the moisture that is still lingering around. Let them steam for about 5 minutes.
  • In those 5 minutes, don’t twiddle your thumbs. Go ahead and take the heavy cream (or milk) and put it to heat up in a pot. You don’t want it boiling, just steaming.
Why go through the trouble? Well, the potatoes are in a cooling down phase right now. If you add a cold, thick liquid like heavy cream, your taters will get cold almost instantly, and you don’t want to work with cold taters.
  • Oh and while you’re at it, put the butter on the back of the stove where it’s nice and warm so it can get a little softened.
I’m telling you to take the butter out now because I know if I told you to take it out earlier you would not have listened to me. You never do. No one cares about letting their butter come to room temperature. You know, if I had a nickel for every time… Ugh, I digress…
Ok, potatoes are steamed and the cream is steaming.
  • Take the butter that should be semi-room temperature by now, add it to the potatoes and incorporate it before you do anything else.
Doing this will coat the starch in the pots with fat so it won’t absorb the liquid. Fat coated starches that don’t absorb liquid will help your battle against gluey mashed pots. Ha! The things you never thought you’d say.
(That tip was brought to you by Cooks Illustrated, via Bridget at The Way The Cookie Crumbles)
  • Alright, pour in half the cream and stir it in. Take a look at the consistency and add as much more cream as you think you need. I say do it this way because sometimes I add ¾ of a cup and it’s not enough, other times it’s too much. Depends on how many potatoes you used and how big they were. So this step is up to you. Don’t eff it up.
IMG_6279
No pressure.
  • Now that everything is all creamy and looking like mashed potatoes, add all your spices and seasonings and give it a good stirTaste it, and add more of what you’d like. Taste it again, and be happy because you just made mashed potatoes.
IMG_6281
Hope you enjoyed. Remember, this is just a basic mashed potato recipe. I plan on doing another post soon with different varieties of mashed taters that I enjoy, so stay tuned! 

Creamed KoRn


IMG_6303
I’m not going to lie to you. I never made creamed corn before I started making shepherd’s pie. I never had any ambition to make it. I never had it growing up. My grandmother used to make a thousand things but never once do I recall her making creamed corn. When I made it the first time, my wife had to correct me on how it was supposed to taste!
Fast forward to today and I’m still not a master creamed corn maker, but I’m alright. I’d like to give you more deep insight on where creamed corn came from, who made it, maybe some sort of crazy fun fact that would make it a million times cooler, but I don’t have anything and I don't want to lie to you. I really hope the creamed corn communities and lovers out there can find it in their hearts to forgive me for looking like I don’t care about their side of choice. Hopefully they’ll stop cursing me after they see what I have to offer.
On second though, I do have a little corn related story!
A long time ago, when my wife and I used to go to concerts regularly (by regularly, I mean like 4 or 5 a year), something we'll always remember happened...
We were in the line waiting for the doors to the KoRn show to open. The venue was the Hard Rock in Orlando, so it was in the middle of Universal City Walk where all sorts of people, mainly families, were walking from park to park. So we're in this line, more than likely wearing black along with everyone else because you know, KoRn. And this older mother and her younger son stop, tap me on the shoulder and ask me in a mild southern accent, no less:
"Excuse me, but what is this line for?"
"...It's for KoRn."
"Corn? ... *looks up and down the line full of gothic kids dressed in black, with piercings and guys with eyeliner* ... "Why are all these people in such a long line for corn?!"
                                           "Haha.. No, it's a rock band called KoRn. We're here for a concert."
"Oh... Ok." ... *walks away explaining to son that it's not corn-corn*
And there's my KoRn story for my creamed corn post. I don't know about you, but it's still funny to us!
Creamed Corn:
1 can ~ Corn Kernels
2 tablespoons ~ Butter
3 tablespoons ~ Sugar
1 teaspoon ~ Rosemary
a pinch ~ Salt
½ teaspoon ~ Pepper
2 tablespoon ~ flour
2 cups ~ Milk
Notes:
  • You can use canned, frozen or even fresh corn if you like. Whatever you have, whatever’s easier.
  • Like I said, I don’t know creamed corn. So I don’t know if putting rosemary in it is some sort of slap in the face to creamed corn purists. If so, my bad.
  • I’d rather use heavy cream but all I had was milk. If you have heavy cream, omit the flour and just let it reduce on it’s own to get thick.
Let’s get to creamin’:
  • To make it easy, just put the corn, butter, sugar, rosemary, salt and pepper in a pan and turn it on medium heat.
IMG_6289
  • About a minute or two after the butter melts, add the flour to make the roux. Let it cook about another minute or two.
IMG_6290IMG_6292
  • Add the milk and stir or whisk until you feel like the roux has been incorporated. At this point, if you have the time you can sit there and constantly stir for about 20 minutes or you can be impatient like I was and turn up the heat a bit and constantly stir for about 10 minutes.
IMG_6294
When you’re using a roux, whatever you’re trying to thicken won’t be fully thickened until it’s been simmering for a good 10-20 minutes. You need time for all the flour to absorb the liquid and create a creamy product.
IMG_6296
  • So after 10 minutes of stirring almost constantly, it should be as thick as it’s going to get. Give it a taste and fix whatever seasonings you want to fix. Little more pepper, maybe some more sugar, it’s up to you.
IMG_6300
And that’s that. Creamed corn. It sounds like I’m downplaying it, but when I make it I always tell myself I have to make it more often. It’s creamy, tasty, and easy. Hope you like!

Friday, March 8, 2013

The Soup That Shall Be Named


IMG_5946 2
So spring is right around the corner. Just a few short weeks until winter is behind us and I don’t have to worry about things like polar bears or the wife slipping on ice. It’ll be sad to see the season go, but with spring comes a vast array of colors and flavors that I kind of miss.
But I’m not here to gush over spring like I embarrassingly did last year. The winds have been howling and the nip is in the air with the occasional snow storm still passing through. So that tells me I have time to post about one more hearty soup! Sucks for you if you don’t like soup because I freaking love them and this is one of my favorites.
If there’s anything familiar about this soup, it’s probably because you've seen or had it before in The Italian Chain Restaurant That Shall Not Be Named. It’s ok, don’t be ashamed, we used to go there more often than not before we vowed to never go back again. And those last few times, the only reason why we found ourselves in their parking lot, let alone sitting in their chairs, was for this soup. That’s all we went for and that’s all we wanted (besides those stupid bread sticks). Unfortunately, the high standards of quality and service that they swear they hold were, not surprisingly, still at the level of my dog’s food. With everything so disappointing, I honestly don’t know why we kept going back. “It’s just for the soup”, we kept telling ourselves. But even though all they have to do is probably defrost a frozen block of soup and serve it, every time we went they managed to mess that up. I’ll save the rest of the details for my mandatory and way too over hyped Italian Chain Restaurant That Shall Not Be Named post that I promise is coming soon.
My point is that we went through a lot of crap just for this soup. And the last few times when it was disgustingly cold, watery, or plastic looking due to a poor attempt at thickening it up, it was just a slap on the face when I was already on the ground, not to mention disrespectful to what this soup should be.
So what did I do? Next time we had an urge for it, we went out to the store instead and bought the ingredients for it (which totaled give or take $12 depending where you go), and then I made it. And guess what? It’s effing amazing. I get to have as much as I want, it’s freshly made, I know who made it, I know what’s in it and best of all, I never have to step foot into The Italian Chain Restaurant That Shall Not Be Named, again.
Thanks to Stephanie Manley for posting the original recipe over at CopyKat Recipes!
Chicken Gnocchi Soup (adapted)
1 tablespoon ~ Olive Oil
2 cups ~ Onions, diced
1 ½ tablespoons ~ Garlic, minced
4 tablespoons ~ Butter
4 tablespoons ~ Flour
1 quart ~ Half and Half
1 cup ~ Shredded Carrots
2 ½ cups ~ Chicken Breasts, cooked and diced
1 package ~ Gnocchi
1 32oz carton ~ Chicken Stock/Broth
1 ½ cups ~ Spinach, chopped
1 teaspoon ~ Dried Thyme
¼ teaspoons ~ Nutmeg, freshly grated (optional)
To Taste ~ Salt and Pepper
Notes:
  • I’ve substituted heavy cream for the half and half before with no issues.
  • You can get flexible with the chicken. If you have a couple of good sized breasts [holds in an immature giggle], you can go with those or if you want to just buy an already cooked, plain whole rotisserie chicken at your local supermarket then the ball is in your quart. You just need chicken; it doesn’t matter from what part of the chicken.
  • I’ll talk about Gnocchi after the notes.
  • I've made this a few times, but never with the nutmeg. But after reading comments from the original post, it seems like it’s worth a shot. Next time I make the soup I’ll definitely give it a go.
Alright, if you’re wondering what the heck a Ganockey is, listen up.
Gnocchi, pronounced noki, are basically small dumplings almost always made of potatoes along with flour and/or semolina. Made famous by Italian cuisine, they can be substituted for pasta if that tickles your fancy or they can be perfect little additions to a soup. If you've never had them, their consistency is like a very soft and chewy baked potato. They hold their shape nicely, just be careful not to overcook them. They’re fairly easy to make by hand, as I've seen them done in a matter of minutes by a cook I used to work with while he was busy making orders. But if you’re like me and just don’t have time for that, you can go to your local supermarket and pick up a package for around $5. I always find them in Target. They’re a great little ingredient and I use them far less than I should.
Now that we’re all on the same page, let’s get it goin’:
Before you even think about making the soup, you’re going to make the chicken and have it ready. I made the chicken as I was making the soup and it felt like my brain was going to explode. It’s not difficult to manage; I just hate waiting for something to finish in order to finish something else that I could’ve finished if I wasn’t waiting for the original thing to finish in the first place.
Go ahead, reread that, I’ll wait.
  • Ok, are we back now? Good. Turn on your oven to 350°. If you’re working with an already made rotisserie, then just ignore anything I say about making the chicken and go straight to tearing it apart.
  • Season the chicken breasts with salt, pepper, garlic and a little oil, and put them on a tray in the oven for a about 20-25 minutes or so depending on the size. Whenever the timer goes off, take them out and make sure they’re done before you let them cool. Once ready, just start ripping them apart with your hands. Keep them in uniform bite sized chunks and set them aside.
IMG_5924IMG_5929
Ok, now that that’s out of the way, let’s get on to the soup.
  • Oh! Put a 2 quart or so sized sauce pan filled with some salted water and set it to boil.
Alright, now the soup.
  • Heat up the oil in your favorite soup pot and add the onions and garlic and cook until they’re sweatedPlop in the butter and wait until it melts before you add the flourGive it a good stir and you’ll be able to call that clumpy mess a roux. Let the roux cook for a minute or two just to get the flour taste out.
IMG_5926IMG_5928
If it starts burning the bottom of the pan then it was totally your fault because you had the heat up too high for the roux. See? This is why I talk you through things.
  • No, don’t lower the heat now, it’s too late. As longs as it’s not too bad, go ahead and add the half and half and stir or (I recommend) whisk until the roux is incorporated. When you don’t see anymore roux floating around, add the carrots as well as the chicken that you didn’t have to worry about because you had it ready.
Geeze, could you imagine what you would’ve done to that roux if you were worrying about the chicken? I could almost hear the news report.
  • Heat up what you have in the pot until it thickens up. Once it does, add the chicken broth, and give it a good stir.
  • At this point, since the gnocchi only takes about 3 or 4 minutes to cook, go ahead and add the gnocchi to the boiling water that you probably already forgot why it was on the stove. I know, that roux really effed you up. When the gnocchi is done, just drain it and put it in something until it is needed.
  • After you add the chicken broth to the soup, wait for it to thicken up once again. If it doesn’t magically happen just let it gently simmer while stirring and it should thicken up slowly. When it does, add the cooked gnocchi, spinach, thyme, nutmeg if you’re using it, and some salt and pepper.
IMG_5932
Give it a stir, give it a taste, does it need salt? Add salt. Does it need pepper? Add pepper. Seriously, do I have to hold your hand through everything? Rule of thumb: If you taste something and it doesn’t really taste the way you think it should taste, it’s probably because it’s bland. If something is bland, guess what? You have to add salt. Go a pinch at a time if you’re scared. Always remember you can add but you can never take away.
When the soup is heated through, that’s it, you’re done. Ladle it into some bowls, get a nice crusty loaf of bread or even some bread sticks if they don’t bring back too many suppressed memories, and enjoy the gnocchi out of this. If you were a fan of this soup before or if this is your first time making it, you’ll fall in love with how easy it is. You'll probably go into shock when you realize you can have this at home where you don’t have to worry about all the hassle and disappointment that comes with going to that place. Not to mention the fact that it tastes better because you just made it with your own two hands.
IMG_5942
So enjoy.