Showing posts with label Dessert. Show all posts

Thursday, February 14, 2013

Brownie Points


Alright, before you get all googly eyed and start to develop a puddle of drool on your keyboard, let it be known that I do not like these brownies.

When I walked into the kitchen to make them, I had a very different end product in my mind. It consisted of these brownies, topped with salt and a white chocolate butter cream frosting with all sorts of pizzazz on top of them. It was going to be the post that launched me into food blogger stardom! I was going to rule the world!! 

[strokes cat, clash of thunder]

But the butter cream failed to turn the color I wanted it to turn, because Heaven forbid the red food coloring I bought for this very purpose actually turned the cream red and not hot freaking pink. This was supposed to be my Valentine's Day post! I wanted red frosting on my brownies, not hot pink! The butter cream was a flop and it was pretty much downhill from there. I forgot to sprinkle the salt, the rest of the ingredients (which shall remain nameless) sit here unused because of the lack of frosting to stick to. By the time the brownies came out of the oven, I was already over them. As if they asked me to the prom and an hour later I caught them under the bleachers with my bff. 

Not right brownies.

Oh, and on top of that, they sit there and mock my sweet tooth! I take pride in my taste for sweet treats. I've always said I'm a dessert guy and would be the one to look at the dessert menu at a restaurant before the dinner menu. But these damn brownies and their overflowing goop of caramel that oozes out just by looking at it hard enough made me question myself. They make me feel like I'm one of you normal people when it comes to sweets. I don't know if it was the time it took to make them that made me weak or that they really are just that sweet. All I know is that I made them so they're going on the blog.

Don't get it twisted. If you're a chocolate and caramel fanatic then these are for you. I thought I loved caramel. But it's yet another kick to the groin these little demons are giving me while I'm already down.


Brownies from Hell:       (slightly adapted from here)


Brownie:

                     2 sticks ~ Butter
                           8 oz ~ Semi-Sweet Chocolate Baking Squares, chopped
                     1/4 cup ~ Cocoa Powder
                  1 1/4 cup ~ Sugar
                      4 each ~ Eggs
            1 tablespoon ~ Vanilla Extract 
                  1 1/4 cup ~ Flour
            1/2 teaspoon ~ Salt


Caramel Filling:

                      1 each ~ 14 oz Bag of Caramel Squares, unwrapped
                     1/3 cup ~ Heavy Cream


Notes:

  • These brownies will ruin your life.
  • You're going to need a 9 x 13 pan for this.
  • If you have chocolate chips but don’t have chocolate baking squares, I’m not going to cry about it.
  • If you've never bought caramel squares before, they’re in the grocery store, either in the same section as the chocolate chips, or in the candy aisle.


Ok, enough with the chit chat. Let’s make some cavities:


  • Turn your oven on to 350 and line your pan with either parchment or aluminum foil. I’m more of a parchment kinda guy when it comes to baking but since I’m all out I used foil. Take some butter and get a nice coating on the foil. Heck, to be safe go ahead and spray it with cooking spray too. You’ll understand when this monster comes out of your oven.


Now, when it comes to melting chocolate, depending on what I’m making or what it’s for, I’ll either use the microwave or set up a double boiler. I always like using a double boiler because I can control the melting better. I can stir and see exactly how the process is going rather than just wondering how it’s going from the outside of the microwave. To do a double boiler, just get yourself a sauce pan with about 2 inches of water and set it to boil. Then take a bowl, I use glass, and put your chocolate and whatever else you’re melting inside of it, and put the bowl on top of the sauce pan. You want the bottom of the bowl to fit just inside the rim of the pan, and you do not want to water to be touching the bowl. We’re using the indirect heat from the steam to melt the chocolate, not the water. The steam will melt it at a steady enough pace and once it’s done you just take the bowl off and you don’t have to worry about burning or overheating. 

But if you’re straight up melting chocolate and nothing else, you’ll want to be careful with water. One drop of water while melting your chocolate can ruin your entire week. If you want more info on that, check this page out since it’s not something we have to worry about right now.

If all of this sounds like too much, you can be lazy and put the chocolate and everything else in a microwave safe bowl and nuke it for 30 second intervals until it’s melted. It’s up to you.

  • Whichever way you go, put the chopped chocolate, butter and cocoa powder in a bowl and melt it until it’s smooth. Take it off the heat and let it cool for a few minutes until you can touch it and it doesn't feel hot. Warm is ok. We’re going to add eggs to this, and I don’t think you want chocolate scrambled eggs.


  • Once it’s cooled down, whisk in the sugar, the eggs one at a time, and the vanilla extract. When that’s all incorporated, stir in the flour and the salt but slowly.


Not because it’s flour and you can make a mess. I really don’t care if you make a mess or not, I’m not going to clean it up. No, stir slowly because you don’t want to over mix it. This is the reason why you always make brownies by hand and never with a stand or hand mixer. If you over mix the flour, you’ll create gluten. And gluten is not something you want in your brownies. They’ll come out cake-like and will be dry and flat as oppose to crumbly and soft.

  • When you stir in the flour, do it slowly, and stop stirring as soon as you see all of the flour incorporated.


  • Pour half, yes, half of the brownie batter into the prepared pan. Smooth it out, do whatever you have to do. It’ll look like it’s too thin of a layer, and you’ll question yourself up and down, but trust me, it’s fine. Just make sure it’s evenly spread out. Put it in the oven for 15 minutes.


While that’s baking, let’s work on the bane of my existence: the caramel filling.

  • Unwrap every single one of the tiny caramel squares. The annoyingly tedious, seemingly never ending, caramel squares.


  • Put them into a sauce pan with the heavy cream and put them on medium heat. Stir occasionally until you have a nice smooth caramel sauce. 


If my wife wasn't pregnant, I totally would've spiced this up with some Baileys Irish Cream. I don’t drink, but I know a few things. And one of those things is how happy-happy Baileys gets with caramel. Boy, oh boy…


Judging by how long it takes you to unwrap those hellish little squares, by the time the caramel sauce is done the brownie is probably out of the oven and cooled by now. 

  • Whatever the case, let it cool for 20 minutes or so when it does come out.


Once the brownie and sauce are ready, commence the sensual bonding and getting-it-on music…
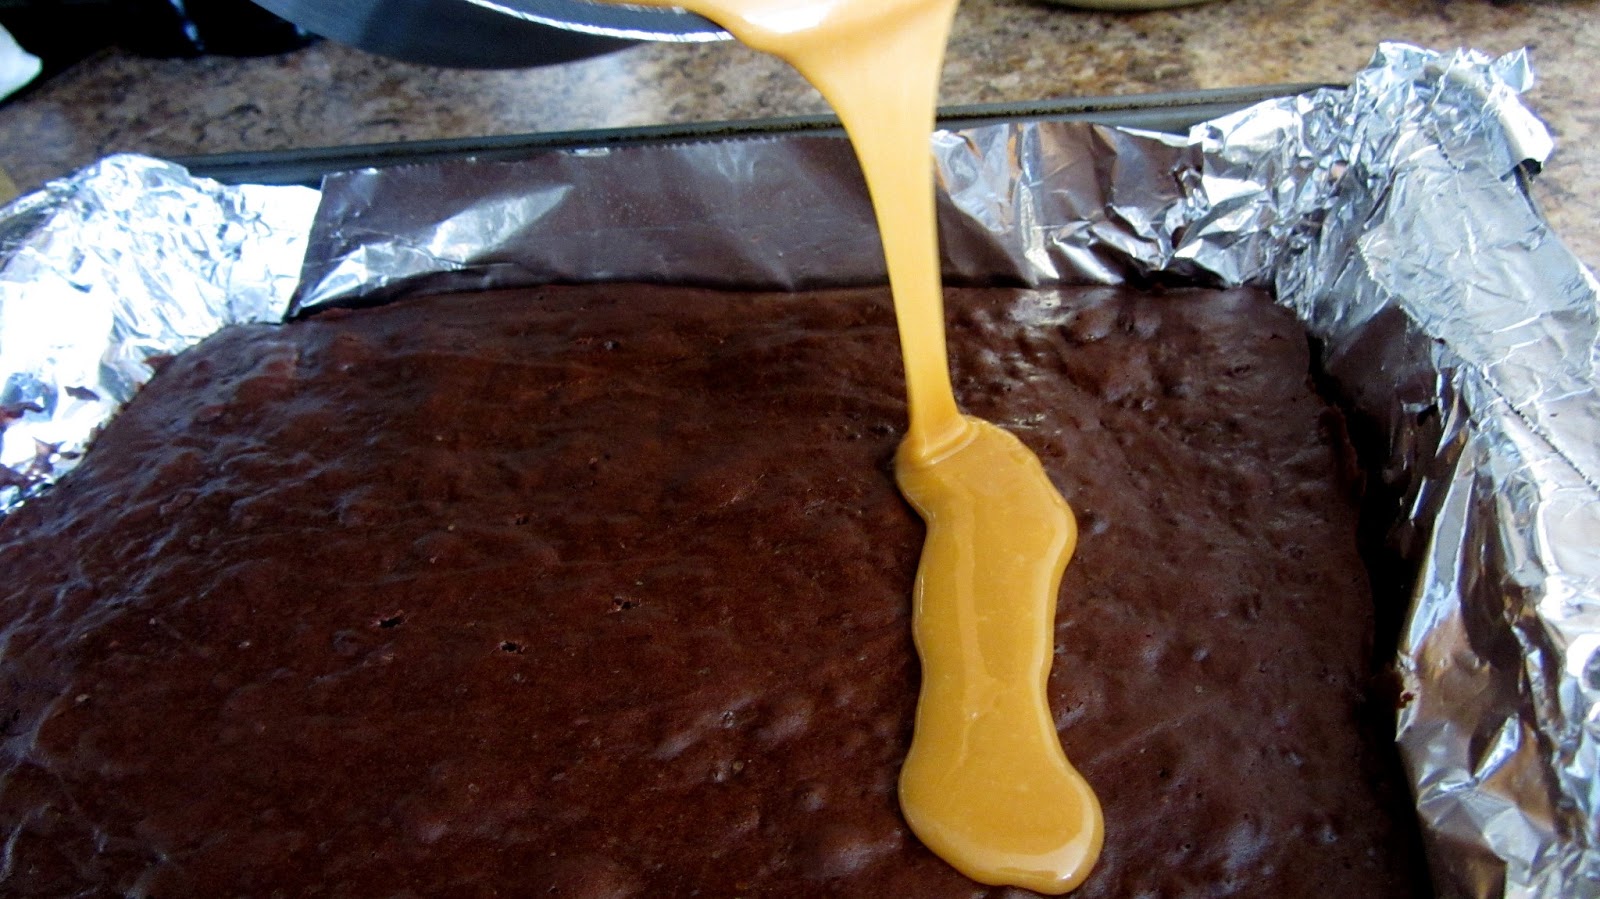


Something I forgot to do in all of my excitement at this point, was to salt the caramel. So if you dig salted caramel, go for it. A little sprinkling with a sea salt should do the trick.

  • Once the caramel is poured on the brownie, take the other half of the batter and slowly and carefully pour it on the caramel. The batter got a little stiff on me after sitting there for so long, so I put it in the microwave for 10 seconds and it was fine.


  • Do the same you did for the first layer. Once it’s all in the pan, just spread it out until everything is evenly covered. It might be a little more difficult with the caramel there, but if you poured it around enough, it should be easy to just push a little around to the open areas. Again, it’s going to feel like you don’t have enough, but if you were good at splitting the batter in half, then you have nothing to worry about.
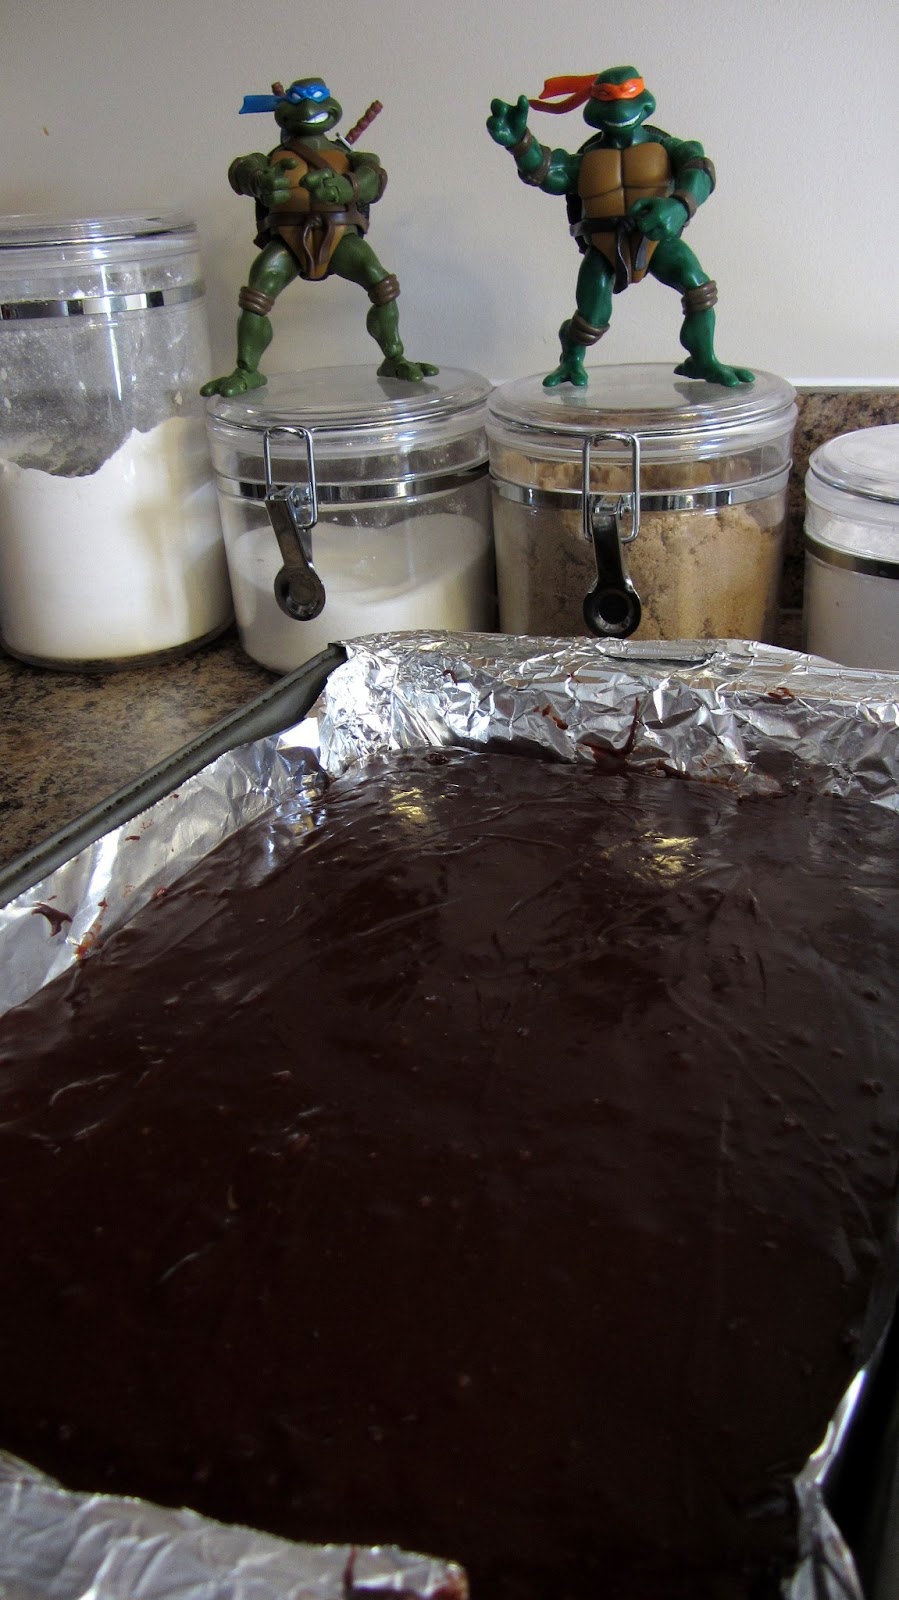
Leo and Mikey approve.

  •  Bake for another 15 minutes.


  • When it’s done, let it cool completely before you cut it. 

You can take it out of the pan using the foil, and just put it on a cooling rack, foil and all, till it cools. But just don’t cut it for at least an hour or two. Why? You just baked caramel sauce at 350°. You might as well have lava in that brownie.

When it’s ready, cut it up and watch it bleed like the heathen it is.


While writing this, I kept thinking on how I was taken aback by the river of caramel that flows in your mouth with each bite. I thought of how I can enjoy these after making them. And it hit me: Put one in a bowl, microwave for like 30 seconds and then plop a couple of scoops of ice cream on there with some chopped nuts…. I think I’d be able to handle that quite well. 

Friday, December 21, 2012

Cocoa Loco


Alright, I know I said it was going to be a cookie extravaganza, but don't get mad at me. It's not the end of the wor... Well... Let me not go there yet. I'll save a joke for my next post. You know... Just in case...

Anyway, it's not a cookie, but this time of year, you need to know how to make this stuff too. And man, once you make it this way you won't go back to those little single serve packets again! Not only is this flavorful, rich and satisfying, but like I've been saying since I started this blog, if you're making it from scratch, you know what's going in it. 

Let me say it again: You're making it from scratch... So you know what's going in it.

Sure, you can go to the store and buy those packets or maybe a big ol' container of the ready made stuff, heck you've been doing it for years, why stop now? Well, here's a good reason: 16 ingredients It's hot cocoa, not Thanksgiving dinner. I don't care what it is, I'm not drinking anything that has 16 ingredients in it. And of course you know, it's not 16 things you can just get off the shelf at Wally World either. We're talking things like Modified Whey and Carageenan. What are they? Well, whey is a by product of cheese. The liquid that remains from the milk after it has curdled and been strained. That's not really the gross part since whey is used for a bunch of things and is packed with vitamins, proteins and minerals. No, the gross part is that it's 1) modified, which probably means whatever was good about the whey is more than likely gone now and replaced with something that is probably a lot less good, and 2) it's going in your hot cocoa. Which, by the whey, is not the way I like to consume my cheese by product. Oh yeah, and Carageenan. That's just a gum-like paste that is extracted from seaweed that grows in the Atlantic Ocean. Where else would cocoa get its thick, creamy taste from? Care to see the other 14 ingredients or the F that it earned in its food ranking? Check it out over at foodfacts.com.

I know they're gone for me, but I hope those days are now put way behind you too. Don't worry, we'll make up for it from now on. And we'll start with this:


               1 1/2 cups ~ Cocoa Powder
                     2 cups ~ Powdered Sugar
               2 1/2 cups ~ Powdered Milk
              1 teaspoon ~ Salt
      2 1/2 teaspoons ~ Cornstarch 
            2 teaspoons ~ Cinnamon (optional)
           1/4 teaspoon ~ Nutmeg, freshly grated (optional)
          pinch or more ~ Cayenne Pepper (optional)


Notes:

  • 16 ingredients... Eat it, Swiss Miss!
  • I added cinnamon and nutmeg to my mix because I'm a nut for those spices. Cayenne is from the original recipe and I'll try that out next time. But only because it's Alton Brown.
  • You can store this indefinitely. That's like, a really long time. 
  • If you happen to have Carageenan laying around your pantry, you can substitute that for the cornstarch. 
  • Of course, I'm joking. 
  • If you do happen to have Carageenan laying around your pantry, you can substitute that for our friendship.
  • Of course, I'm not joking.


Alright. I want you to pay attention. This is going to seem like a lot, and you may be overwhelmed. But trust me when I say the hard, stressful work it's going to take to put this together will be beyond rewarding. I'll go slow, so keep up:


  • Put everything in a big bowl, and mix until it's incorporated. 


That's it, you're done. 

PHEW! Talk about hard work, huh? That modified whey and carageenan was starting to sound good for a second. 

You may have a big clump of sugar here or there but it's nothing a push of a finger won't fix. I had a few empty coffee tins that are perfect for storing the cocoa mix in my pantry. If you don't have something like that just use a zip lock freezer bag.


As far as actually making the cocoa, I like to do mine a certain way. 

There's always the debate of milk vs water. Well, to me there is no debate, it's milk all the way, everyday, all day, twice on Sundays. Using water for your hot cocoa actually makes me cringe. It's almost as bad as mayonnaise, and if you know me, you know how much I hate mayonnaise.  But those packet things we talked about earlier always say add water, and I think they're the ones that started that fad. I'm telling you, as if they haven't done enough damage...

  • So, heat up the milk on medium. If you have some whole cinnamon sticks, don't be afraid to steep them in here while it's heating up. 

Whole Milk is preferred of course, but 2% is fine since that's what I always have in my house anyway. If you have 2%, don't worry about going out to buy whole milk, but if you're using the next level down, then get your butt to the store because at that point you might as well use water.

  • While the milk is heating up, I like to take some heavy cream and whip it until it gets slightly thickened. I also add a bit of powdered sugar to it. 


If you remember my whipped cream post, it'll be a stage before the soft peaks. I do this when I have marshmallows on hand. If I don't have marshmallows, I'm making full on whipped cream. But since I have marshmallows, I'm just looking for some added creaminess. 

  • Add enough of your awesome, homemade cocoa powder to your mug to fill it up 1/3 to 1/2 the way full. No, not a typo, don't be cheap with this stuff, did you already forget how easy it was to make?!

  • When the milk is not boiling, but steaming, add enough to your mug to just cover the mountain of cocoa inside. Mix with anything you have handy (not your finger) until the powder dissolves. This step is going to ensure you don't get any lumps in your drink. Although, I'll be honest, I don't mind a lump or two of cocoa mix in my hot cocoa. Matter of fact, I sometimes prefer it.

  • Once it's dissolved, add the rest of the milk to fill up the mug, leaving about an inch or so on the top. 

For some really magical stuff, pour the cocoa out of the mug and into a container that you trust will contain the liquid tightly. And once it's secure, shake it up for a good minute. Pour the result back into your mug for an amazingly frothy cup of cocoa. If you do this, you can skip the whipped cream and just go marshmallows. Heck, probably don't even need those.

  • If you're not froathing it up, in the remainder of the mug I pour the barely whipped cream, and then I top with a nice handful of marshmallows. Sprinkle with some chopped chocolate and a dash of cinnamon and next thing you know, your tummy's the happiest it's been all winter. 

Jack says Merry Christmas


Now, if only we had a cookie that would pair perfectly with this. Hmmm.....


Thursday, December 13, 2012

Sugar and Spice...


Out of everything I make during the holidays, this has got to be my favorite.

I'm a lover of spices and can appreciate the assault on the senses they can do. I think that's a big reason why I love holiday baking. I get to abuse things like cinnamon, nutmeg, and pumpkin pie spice, and no one gives me any lip about it. And you know I'm a cinnamon freak so this time of year is just dangerous.

I've been making these in particular for the last 3 or 4 years. What's special about this year though is I'm finally making them the way they're supposed to be made... With cinnamon chips!!!


Yup, cinnamon chips.

Those little morsels of goodness were my unicorn. For the past 4 years, every holiday season I was out and about for at least 2 weeks before finally giving up for the year. Combing supermarkets, turning those organic food markets that smell like fish and hippies upside down, always looking for these mythical chips. I would ask the stock person in every store that I went to, and every single one of them replied with the same dumbfounded look. As if we were in the wild west and they were a bartender and I just walked into their saloon wearing a pink cowboy outfit with tassels all over it asking for a glass of ice water. But then one day about a week before Thanksgiving, we were walking around Walmart and I saw them. Sitting right there next to the chocolate chips as if they belong on the same shelf. I couldn't believe my eyes. It took me 11 years, but I finally understand why the Nazgûl went bonkers every time Frodo put on The Ring. That's exactly how I felt, like I finally found the one thing I've been after for so long. And in Walmart of all places!

Anyway, get out there to your local Wally World and give them a try. They're creamy like chocolate but have a cinnamon flavor. I'd be lying if I told you I didn't eat a few handfuls. 

It's ok though, I can do that. I bought like 4 bags.


Spiced Cinnamon Coins:

                     2 sticks ~ Butter, SOFTENED
                     3/4 cup ~ Dark Brown Sugar
                      2 each ~ Eggs
         1 1/4 teaspoon ~ Cinnamon
            1/4 teaspoon ~ Nutmeg, freshly grated
            1/4 teaspoon ~ Ground Ginger
            1/4 teaspoon ~ Pumpkin Pie Spice
            1/8 teaspoon ~ Salt
               1 teaspoon ~ Vanilla Extract
                2 1/2 cups ~ Flour
                     2/3 cup ~ Cinnamon Chips, coarsely chopped
                                     Turbinado Sugar


Notes:

  • Notice how I put "softened" in all caps. That's my attempt to remind you to put out your butter so that it softens. I know I might as well be screaming at the wall but it's worth a shot.
  • I used dark brown sugar because I had it and the flavor is deeper. You can use light brown sugar or regular sugar if you must. 
  • Coarsely chop the cinnamon chips as best you can. You don't need to chop them all, but at least half would be nice. If you leave them whole, when you go to cut the cookies later, it can rip the dough apart. Yeah, it's easy to put back together, but still, do what I say, ok? Ok. You don't want big chips everywhere anyway. You want little chunks here and there, don't you? Alright then, 
  • If you don't know what Turbinado Sugar is, it's basically natural brown sugar or sugar in the raw. It's a coarse sugar that gives a great crunch. I love using it as much as I can and in this recipe it's almost a necessity. It helps deliver that crispy outside of the cookie. You can find Turbinado sugar just about anywhere.
  • Now, if you have my problem that I had for so long and can't find cinnamon chips, the alternative that I used for 4 years were butterscotch chips. Found right next to the chocolate chips, it goes nicely with the spices of the cookie. If you use butterscotch chips, up the ground cinnamon by about 1/2 teaspoon. 
  • A fair warning: These cookies are small, about an inch wide at best. And on top of that, they're addicting. That has to be the worst combination in the history of sweets. You can easily have 10 of them before you know it. This recipe will give you about 40 cookies depending on how much you roll and how thin or thick you cut, so plan accordingly. If you think 40 cookies is too much, who cares? Make half and freeze the other half. But I wouldn't freeze more than a month.


Time to make some coin:


  • Take the softened butter and sugar and cream it in a mixer. Not creaming it till light and fluffy, but just until it's a nice paste. The dark brown sugar is going to make it look like mud. It looks disgusting, but it's great!

  • Next add the eggs one at a time until combined, then add all the spices, the salt and the extract. 


  • Once it's combined, take out the bowl and with a spatula, fold in the flour and the cinnamon chips. 


Yeah, I have a purple spatula. Wanna make something of it?!

Now the fun!

There are a few ways to do this:

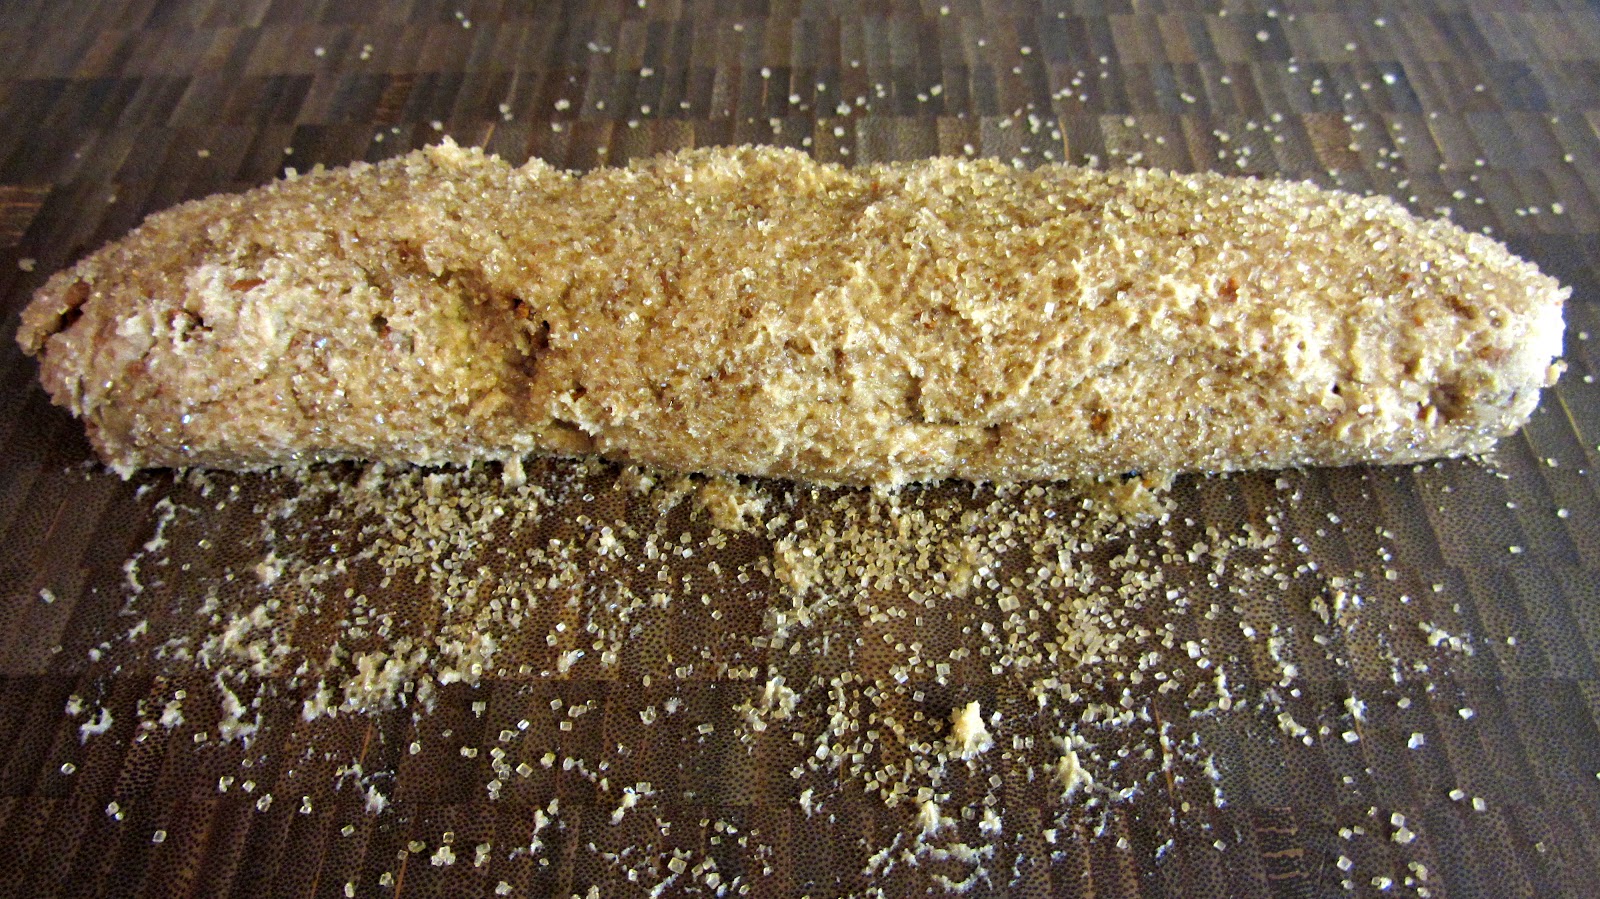
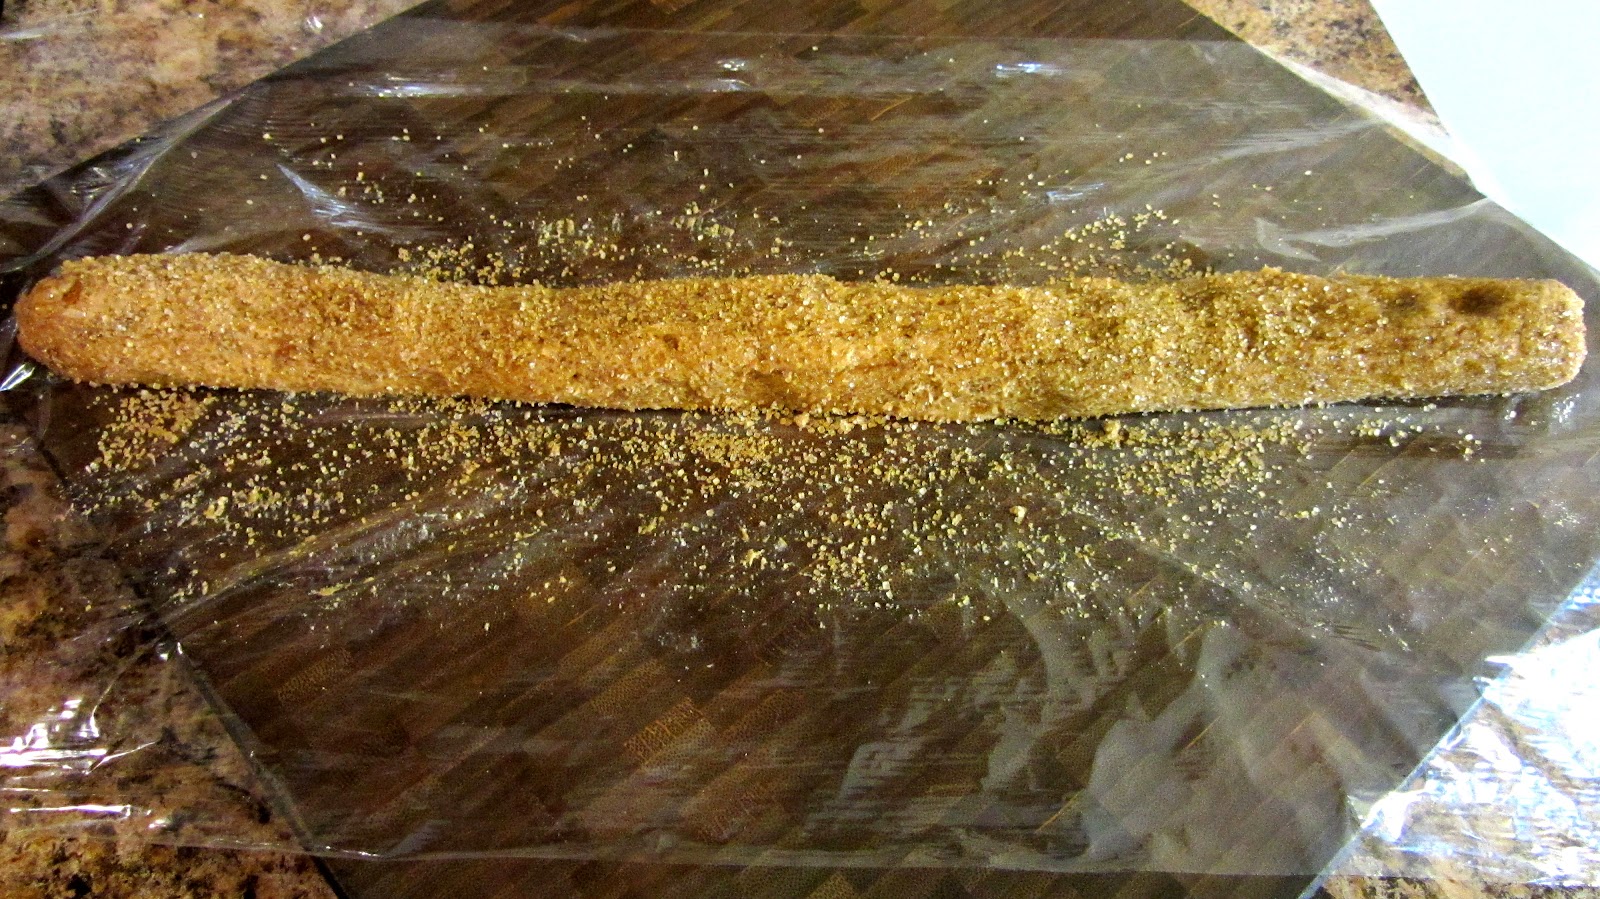
  • First, if you have a work surface you like for such things, sprinkle some of the turbinado sugar on it and plop half of the dough on to the sugar. Work it into a log shape and then roll it till it's about 1/2 inch thick. Take the rolled dough and transfer it to a long piece of plastic wrap and roll it up and close off the sides. 


  • Or, if you have patience, you can do everything I just said on the actual plastic wrap. Covering the dough with half the wrap and squeezing it out, then pulling the other side over to squeeze it out some more, then rolling it until you get your long, 1/2 inch thick rope of dough.


  • Either way will work. Whichever you do, be sure to close it off good because from here you put the rolled up dough into the freezer for at least 2 hours to chill. Like I said, you can leave it in there for about a month, but let it cool off for at least 2 hours. That way when you go to cut it, it will be a much easier process. 


  • Once the time has passed, turn on your oven to 350. Take the dough and roll it in a little more turbinado sugar. Get a nice coating on there and then cut the dough about a 1/4 of an inch thick. Place the coins about an inch apart on a parchment lined cookie tray that was sprayed with cooking spray. Something I like to do at this point is grate some more nutmeg on the top of the cookies, but I'm spicy like that. Put them in the oven for 16 - 20 minutes, until the edges get a little color and the center is a little firm. 


And that is that. Put them somewhere to cool and you are done. If you baked them right they should be nice and crispy around the edges, enough to give you a good crunch, and somewhat chewy in the center. If you cooked them too long, they'll be crispy all the way through. Which is a big "who cares" because they'll still be freaking good. I actually like them all crispy.


These puppies are small but they pack some flavor. Don't be mad at me if you eat them all in one shot.

Easter Egg: If you haven't noticed, this is the cookie that is pictured in the header of my blog. Only more Pac-Man-y.

Wednesday, December 5, 2012

If Milk Could Dream...


Still the first week of the month and I already feel like I'm slacking. I have quite a few holiday goodies to throw your way so I really should get on the ball here. I mean, here I am, a cookie fanatic missing out on the cookie making season. If this blog has done anything consistently well, it's making me ashamed of myself. 

What? I said cookie and you stopped caring about everything else I was saying? Yeah, I get like that too. I don't know if that has anything to do with my love for the holidays, but I'm not one to question such things. Cookies are life's way of saying, "hey... I like you." But that's only on good days. On bad days, life gives you lemons. It's almost always a cookie when it's a good day.

So I guess this is my semi-official introduction to my Holiday Cookie Posting Extravaganza! (working title). Semi-official because maybe one day I'll feel like something other than a cookie and I don't want to be held accountable for lying to you. If you want all the legal information, it's in the fine print at the bottom of the page under the copyright information that's there for decoration since no one really looks at this blog.

Anyway, cooki..er, Holiday Cookie Posting Extravaganza! (working title)!

This cookie is a showstopper. It's made its rounds through the blogging world and Pinterest and has found its way into my belly on more than one occasion. I have to thank CanadianDana for introducing me to this behemoth for the first time a few years ago. I have to say, it's fairly breathtaking if you've never seen one. I'm willing to bet that if this is your first time seeing a cookie of this stature, you're probably still looking at the picture and you're not even reading this. It's forgivable and understandable. Imagine how the milk feels! I'd bet this is as close to a ménage à trois that milk is ever going to get...


Oreo Stuffed Chocolate Chip Cookies: (adapted from here)


                                 2 sticks ~ Butter
                                    1 cup ~ Brown Sugar
                                    1 cup ~ Sugar
                                  2 each ~ Eggs
                       1 tablespoon ~ Vanilla Extract
                                  4 cups ~ Flour
                           1 teaspoon ~ Salt
                           1 teaspoon ~ Baking Soda
                        3/4 teaspoon ~ Cinnamon
                        1/8 teaspoon ~ Nutmeg, freshly grated (optional)
                                     1 bag ~ Chocolate Chips
                                 At least ~ 12 Oreo Cookies


Notes:

  • I used the Candy Cane stuffed Oreo's. Because, you know, it's Christmas time. I admit, they're a little weird at first. But after a few bites you're used to it. 
  • You can use this recipe any time of year with regular Oreo cookies. 
  • Heck, you can use this recipe with anything really. Doesn't have to be Oreo's. You can use Reese's Peanut Butter Cups... Like I also did. 
  • If the dough does not feel workable, add a little more flour. You want to be able to shape it without it sticking to your hands.
  • If it is sticking to your hands, try washing your hands and drying them. Dry them good because the moisture in your hands could cause the dough to stick to them.
  • If you're still having problems, refrigerate the dough for about an hour and give it another go.
  • The recipe can make about a dozen cookies. But trust me, you don't need any more than that. 


I hope you have room in your kitchen for the biggest cookies you've ever made:


  • Preheat the hotbox to 350.

The first step to making these is probably the most important step in all of cookie making. Don't get scared, come on, get out from under the table. I'll break it down for you:

It's called the Creaming Method. It's a method with a specific order of putting your ingredients together and for good reason. It gets its name from the first step, which is creaming together the fat (butter or lard) and the sugar. It's named after this step because it is the most important step. Make sure you cream it right because you're setting the stage for the rest of the show. When creaming the sugar and fat, you're incorporating air into the fat, which will essentially be the base for your cookie. So when you bake the cookies, the air you created will act as a leavening agent of sorts, expanding with the heat, and creating a lighter, fluffier cookie.  

I might create a separate post just for discussing the Creaming Method soon. It's that important.  

But that's later. Now we continue this..

  • Take the butter and sugars and cream in the mixer until it's light and fluffy. Don't forget to scrape the edges and the bottom. Once it's fluffy, add the eggs one at a time as well as the vanilla, while mixing slowly.


  • The easiest way to do the next part is to take all of the dry ingredients and put them into one bowl. Then add a third of the dry ingredients and slowly turn on the mixer until it is just combined. Turn it off and repeat 2 more times until the dry ingredients are gone. Finally, add the chocolate chips and mix them in until they're well incorporated.


Now the fun part!

  • Spray a parchment lined cookie sheet. Then take an Oreo cookie and place a spoonful of the cookie dough on the bottom and another spoonful on the top.


  • Now with your hands, mold and press the dough around the Oreo till you form a general cookie shape. You want it completely covered so if you feel like you need a little more dough then add some on the spots where needed.


In case you're wondering.. Yes, it is a lot of dough.

  • Once they're made, put them on the cookie sheet at least 1 inch apart, 1 1/2 to be safe. Put them in the oven for about 10 minutes. I say "about" because everyone's oven is different. My batch actually stayed in for around 15 minutes. They're done when the edges and bottom are a nice golden brown. So keep an eye on them.


And that's about it.


I'd like to take this time to state once again that these cookies are freaking huge. I have fairly big hands and i can't wrap my fingers around one. So please, be very careful if you have small children in your home and these are on the counter. If a cookie falls on a child's head, it could knock the kid out cold.


Oh! I forgot. I did mention that I also made some with Peanut Butter Cups, didn't I? Well yeah... Just do everything I said, but instead of Oreo's, use Reese's Peanut Butter Cups and boom! 


Yes, they're amazing.

And you can stop drooling now...